

How to Make Coconut Oil at Home: Pure, Organic, and Budget-Friendly
Imagine having access to pure, organic coconut oil without breaking the bank. What if you could make it yourself right in your kitchen? Whether you’re a DIY lover, an organic enthusiast, or someone looking for natural skincare solutions, homemade coconut oil is a game-changer. It’s simple, cost-effective, and incredibly versatile. In this guide, we’ll walk you through making virgin coconut oil at home step-by-step, ensuring purity and savings every time.
Why Homemade Coconut Oil Is Worth It
Before diving into the process, let’s talk about why making coconut oil at home is such a smart choice. Store-bought options often come with hidden additives or are overpriced, but when you make it yourself, you control the quality and save money. Here’s what makes homemade coconut oil stand out:
- Purity : No chemicals or preservatives—just 100% natural goodness.
- Cost Savings : Skip expensive brands and produce your own for a fraction of the price.
- Versatility : Use it for cooking, moisturizing, haircare, and more.
- Eco-Friendly : Reduce packaging waste by reusing jars and containers.
By making your own coconut oil, you not only enjoy its benefits but also take pride in creating something wholesome and sustainable.
The Benefits of Making Coconut Oil at Home
Why DIY Coconut Oil is Better Than Store-Bought
Homemade coconut oil isn’t just about saving money—it’s about quality and peace of mind. Here’s why it beats store-bought alternatives:
- Purity :
- Commercial oils may contain additives or undergo excessive processing.
- At home, you ensure only fresh coconuts (or desiccated coconut) are used.
- Cost Savings :
- A single coconut yields both milk and oil, maximizing value.
- Bulk production reduces costs even further.
- Versatility :
- Perfect for cooking, beauty routines, and household uses.
- Customizable with infused flavors like cinnamon or vanilla.
- Eco-Friendly :
- Minimize plastic waste by avoiding packaged products.
- Support sustainable practices by sourcing local coconuts.
Why Organic Fans Love It:
For those committed to organic living, homemade coconut oil aligns perfectly with their values. You know exactly where your ingredients come from and how they’re processed.
Ingredients and Tools You’ll Need
What You Need to Get Started
Making coconut oil doesn’t require fancy equipment—just basic kitchen tools. Here’s what you’ll need:
Ingredients :
- Fresh coconuts (preferably mature ones for higher oil content).
- Alternatively, use high-quality desiccated coconut if fresh ones aren’t available.
Tools :
- Grater or food processor for shredding coconut flesh.
- Blender or mixer for grinding coconut.
- Cheesecloth or fine mesh strainer for extracting milk.
- Large bowl for collecting liquids.
- Clean glass jars for storing oil.
Tips for Success:
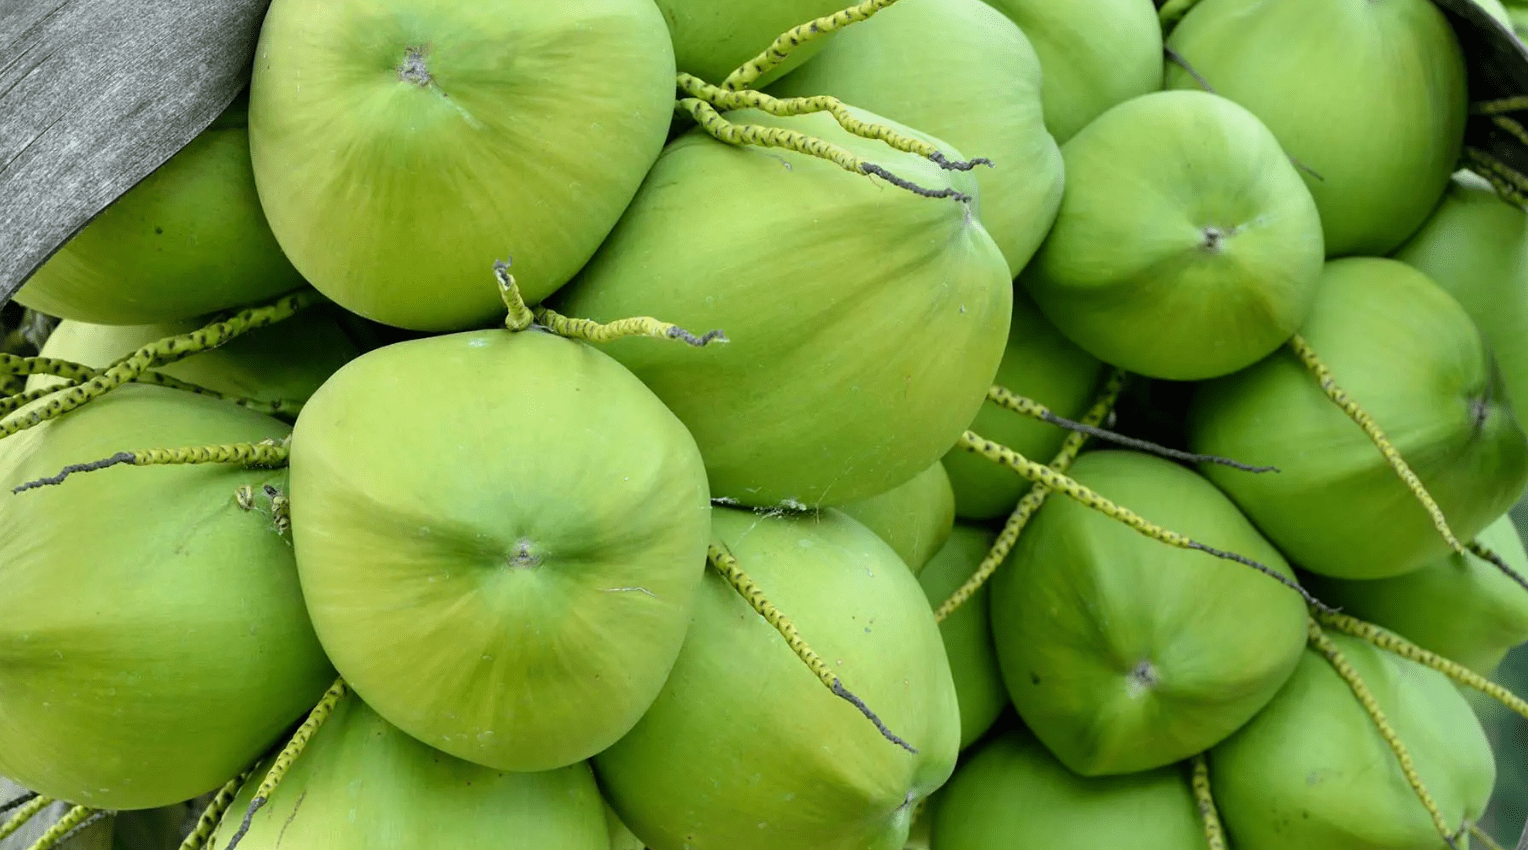
- Look for ripe, brown coconuts rather than young green ones for richer oil.
- If using desiccated coconut, choose unsweetened varieties for better results.
Step-by-Step Guide to Making Virgin Coconut Oil
How to Make Pure Virgin Coconut Oil at Home
Ready to get started? Follow these easy steps to create your own cold-pressed coconut oil:
- Step 1: Extract Coconut Milk
- Crack open a fresh coconut and remove the hard shell.
- Grate the white flesh finely using a grater or food processor.
- Blend the grated coconut with water until smooth.
- Strain the mixture through a cheesecloth into a bowl to extract the milk. Squeeze thoroughly to maximize yield.
- Step 2: Let the Coconut Milk Settle
- Pour the extracted coconut milk into a clean jar or container.
- Leave it undisturbed for 24–48 hours in a cool place.
- As it settles, the cream will rise to the top, leaving clear oil underneath.
- Step 3: Separate the Oil
- Carefully scoop off the creamy layer on top.
- Collect the golden oil beneath using a spoon or dropper. Transfer it to a clean jar.
- Optional Step: Cold-Press Method
- For an alternative approach, blend desiccated coconut with water and strain it immediately.
- Allow the liquid to settle naturally for 1–2 days before separating the oil.
Troubleshooting Tips:
- If the oil doesn’t separate, leave it longer or refrigerate to speed up the process.
- Always use clean utensils to prevent spoilage.
Tips for Success and Customization
Secrets to Perfecting Your Homemade Coconut Oil
To elevate your coconut oil game, keep these tips in mind:
- Choose Fresh Ingredients : Start with high-quality, organic coconuts for the best flavor and purity.
- Experiment with Flavors : Infuse your oil with herbs, spices, or essential oils for unique variations. Try adding cinnamon sticks or vanilla pods during extraction.
- Store Properly : Keep your oil in airtight glass jars in a cool, dark place to extend shelf life. Refrigeration is optional but recommended for long-term storage.
Creative Uses for Byproducts:
- Don’t throw away leftover coconut meal! Use it in baking, smoothies, or as a natural scrub.
Uses of Homemade Coconut Oil
Beyond Cooking: How to Use Your DIY Coconut Oil
Once you’ve made your coconut oil, here’s how you can put it to good use:
- In the Kitchen :
- Fry, sauté, or roast vegetables for rich flavor.
- Add a spoonful to smoothies or coffee for extra creaminess.
- For Skincare :
- Moisturize dry skin or soothe irritated areas.
- Mix with sugar or salt for a DIY body scrub.
- For Haircare :
- Apply as a deep conditioner to repair damaged hair.
- Massage into your scalp to promote healthy growth.
- Other Uses :
- Remove makeup naturally without harsh chemicals.
- Create homemade candles or soaps for eco-friendly gifts.
Testimonials:
Moms love using it as a baby massage oil, while students appreciate its affordability for DIY beauty projects.
Cost Comparison: Homemade vs. Store-Bought Coconut Oil
Why Making Coconut Oil Saves You Money
Let’s break down the numbers to see how much you can save:
- Fresh Coconuts : Typically cost $1–$2 each, yielding both milk and oil.
- Store-Bought Oils : Premium brands charge $10–$20 per bottle.
- Bulk Production : Making larger batches reduces per-unit costs significantly.
Environmental Savings:
By skipping pre-packaged oils, you reduce plastic waste and lower your carbon footprint.
Start Your DIY Coconut Oil Journey Today
Making coconut oil at home is easier than you might think—and the rewards are well worth the effort. From its purity and versatility to the cost savings and eco-friendly benefits, homemade coconut oil ticks all the boxes. Whether you’re whipping up a delicious meal, pampering your skin, or crafting natural remedies, this golden elixir has endless possibilities.
Ready to give it a try? Follow our simple guide and experience the satisfaction of creating your own pure, organic coconut oil. Don’t forget to share your creations with us—we’d love to hear about your journey!
FAQs About Making Coconut Oil at Home
Here are answers to some common questions about making coconut oil:
What’s the difference between virgin and refined coconut oil?
Virgin oil is unprocessed and retains more nutrients, while refined oil undergoes heat treatment and filtration.
Can I use frozen coconut meat instead of fresh?
Yes, thaw it completely before blending.
How long does homemade coconut oil last?
Up to 6 months if stored properly in a cool, dark place.
Do I need special equipment for the cold-pressed method?
No, a blender and cheesecloth work perfectly fine.
Is homemade coconut oil safe for sensitive skin?
Absolutely! It’s gentle and free from harsh chemicals.
Ready to give coconut a try? Start small by incorporating it into your favorite dishes. For fresh coconut or plants, contact us at Vagaa.lk—we’re here to help you embrace a healthier lifestyle!